
You’ve probably been ironing wrong: How the pros cut your ironing time in half
https://www.aregultion.com/ultimate-guide-to-ironing-mastery-board-hacks/
Let’s face it: ironing is one of those chores we’d rather pay someone to do than do ourselves. It’s time-consuming, labor-intensive, and if you don’t do it right, you can ruin a perfectly good garment. If you find yourself going over and over again on the same shirt, feeling like the ironing never ends, the problem might not be you, but your process and tools .
An efficient ironing board is more than just a flat surface; it’s a time accelerator. This article breaks down three core techniques used by professional stylists and home improvement experts to completely upgrade your ironing workflow. From reviewing your equipment to mastering a game-changing kitchen gadget, we’ll ensure you not only cut your ironing time in half but also achieve professional-looking results.
Step 1: Basic Check – Is your ironing board a helper or a burden?
All effective ironing starts with a stable, high-quality work surface. If you’re using an ironing board that’s wobbly and has an uneven surface, you’re wasting your time.
Structure is the cornerstone of efficiency: stability and ergonomics
A good ironing board should be like your kitchen cutting board: sturdy and reliable .
The stand determines your fate: Check your stand immediately. Look for reinforced metal stands with crossed legs or thicker tubing. It must be able to withstand the pressure you apply and remain firm even when you push the iron hard.
Height adjustment is key: your ironing board should be easily adjustable, with the highest point reaching elbow height . This not only reduces back and shoulder fatigue during long ironing sessions, but also allows you to apply force more effectively, which in turn increases speed.
Board material upgrade: embrace steam and heat reflection
The material of the board directly affects the ironing effect and speed.
Breathable mesh is better than a solid board: Professional ironing boards have a metal mesh bottom . With a solid board, steam can’t escape, trapping it between the clothes and the board, leaving them soggy. A mesh structure ensures quick steam circulation, leaving clothes dry instantly.
Say no to worn sponge covers: A high-quality ironing board cover should not only be thick and heat-resistant, but also have a heat-reflective function (usually with a silver or aluminum coating). This material can bounce heat back to the bottom of the clothes, laying the foundation for the subsequent efficiency black technology.
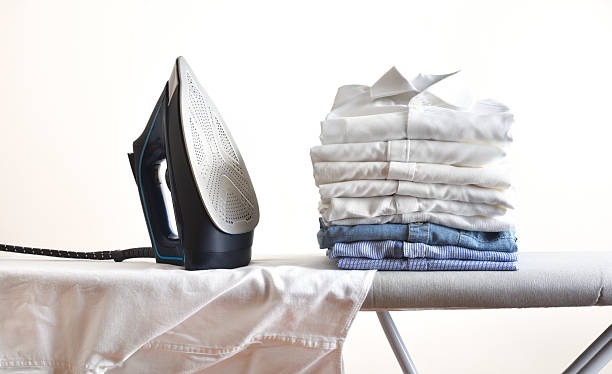
Step 2: Subvert tradition – use tin foil to achieve double-sided ironing
If you’re not interested in spending money on an upgraded ironing board cover, aluminum foil in the kitchen is your secret weapon. This trick, called the heat-reflecting accelerator, allows you to achieve “one-time ironing, two-sided flatness.”
How it works: How a sheet of tinfoil can save you half the work
Heat reflection: Aluminum foil is highly heat reflective. When you place it under the ironing board cover, it acts like a mirror. The heat from the iron passes through the garment and is immediately reflected back to the underside of the garment.
Synchronous flattening: This means that when you iron the front of the garment, the back is also ironed at the same time. For most thin fabrics such as cotton, linen, silk or synthetic fibers, you can completely skip the step of turning the clothes over , and your efficiency will be doubled instantly.
Hands-on guide:
Preparation: Remove the ironing board cover.
Laying the mirror: Take a large enough piece of aluminum foil, shiny side up , and lay it flat on the surface of the ironing board.
Eliminate blemishes: Be sure to smooth the foil thoroughly by hand . Any wrinkles will be transferred to your clothing.
Reset: Put the ironing board cover back on. When you are finished ironing, you only need to iron one side.
Warnings for use: Pay attention to moisture management
Since aluminum foil is impermeable, it can trap some steam. To prevent mold and mildew on your ironing board cover and lining, make it a habit to loosen or remove the cover after each session to allow the board to air dry thoroughly before storing it.
Step 3: Streamlining Processes – Workflow Optimization for Professionals
In addition to upgrading tools, correct ironing habits and processes can help you save more time.
Utilize the hidden functions of your ironing board
Use an iron rest: Always use the heat-resistant iron rest that comes with your ironing board to hold your hot iron. This is safer and more ergonomic than placing it directly on your clothes or on the table, as it reduces the time you have to bend over to retrieve it.
Secure the cord: Many ironing boards have a cord management clip on the side . Using it to secure your iron cord prevents it from getting tangled in your clothes and interrupting your ironing routine.
Use the pointed tip: The pointed tip of the ironing board is specifically designed for ironing shirt collars and cuffs . Starting with these details, rather than the larger area of the shirt, ensures a professional finish.
Optimize your ironing habits: from difficult to easy, from low to high
Batch ironing: Don’t adjust the temperature for each garment individually. Group items that require a lower temperature (such as silk and polyester) and iron them later, such as cotton and linen items that require a higher temperature. This will help you avoid the hassle of having to adjust the temperature frequently.
Small to Large Process: The professional ironing order is: iron the most difficult and smallest areas first (such as collars and cuffs), then the medium-sized areas (such as sleeves, front and back panels), and finally the large flat areas. This ensures that small areas will not be wrinkled when ironing large areas.
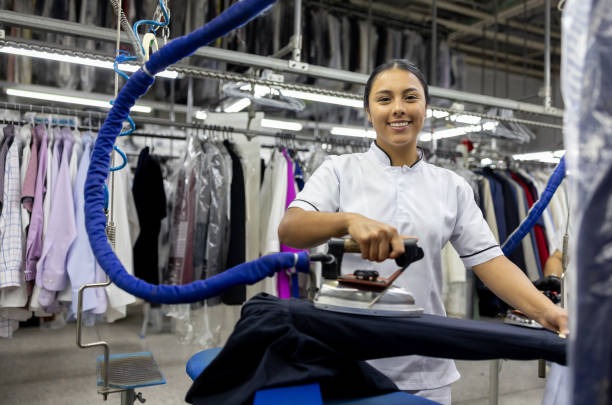
Summary and reflection:
Ironing no longer needs to be a weekly burden. By ensuring your tools are sturdy and breathable , incorporating the advanced technology of heat-reflecting aluminum foil , and following a professional process , you’ll not only complete the task faster, but also keep your clothes in top condition, giving you a bonus every time.
Now that you’ve mastered these techniques, does the next load of clothes you need to iron feel less daunting? Do you think upgrading your tools (like heat reflectors) is more important for ironing efficiency, or is optimizing your habits (like the order in which you iron) more effective in saving time?
https://www.aregultion.com/ultimate-guide-to-ironing-mastery-board-hacks/


